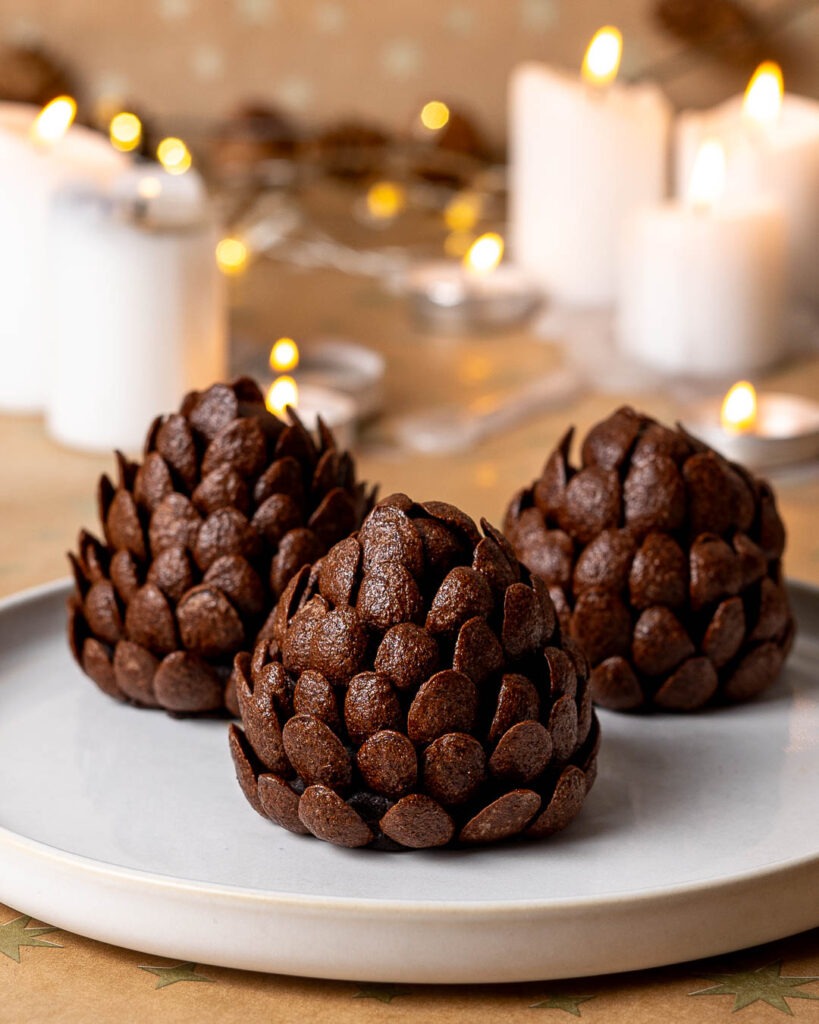
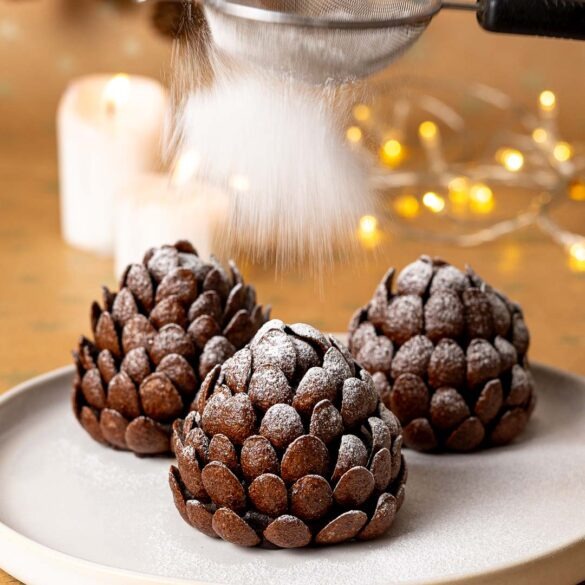
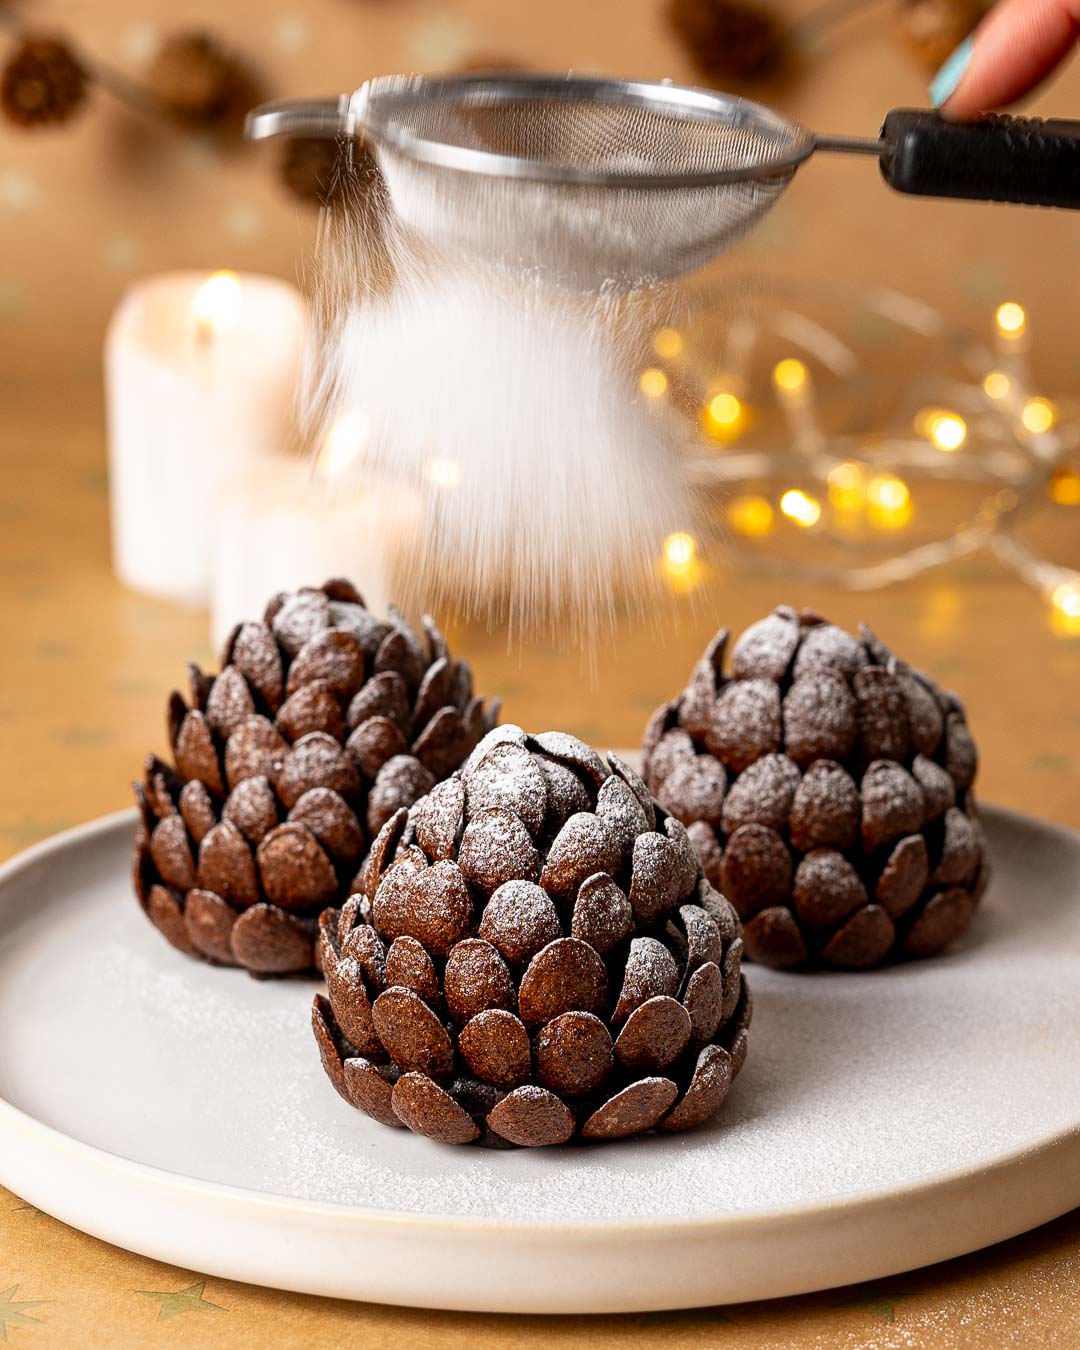
Tell me about these brownie pine cones?
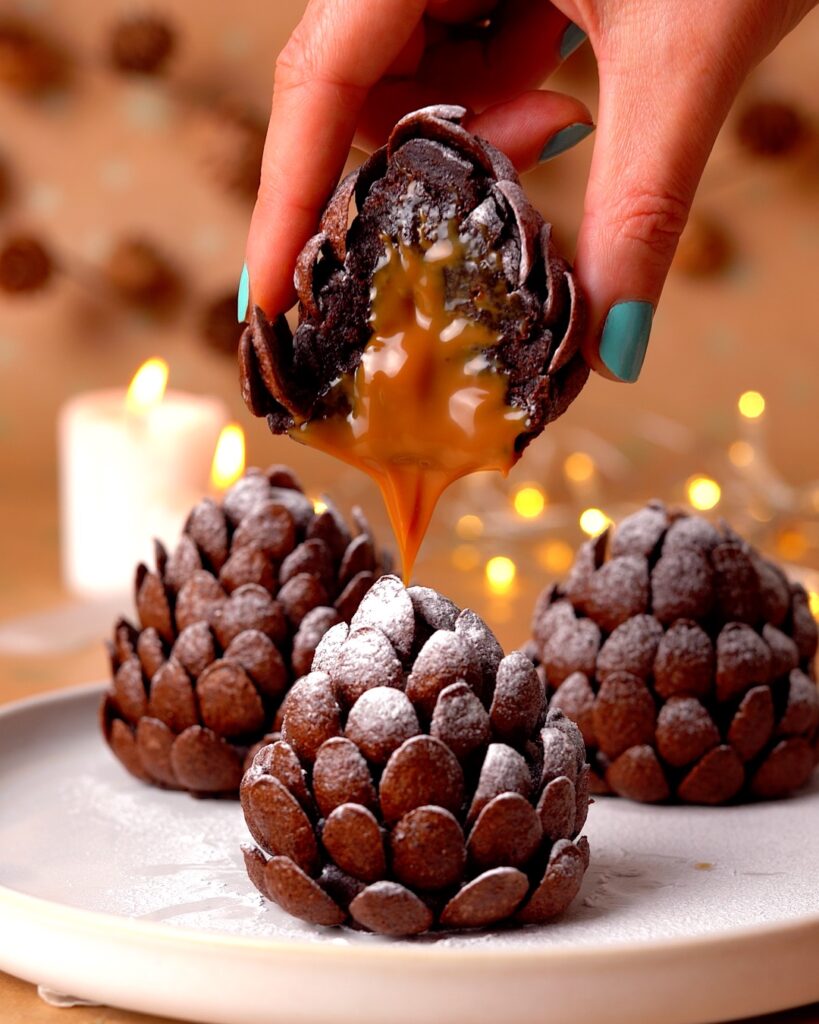
They are my new obsession, and are my first bake for the festive season. In the words of Mariah “It’s timmeeeee…” I definitely was not ready to start making Christmas recipes and was getting withdrawal symptoms from Halloween. Then it all changed, I dusted my brownie pine cones with icing sugar and my inner Mariah was activated! I am officially in full Christmas mode and can’t get enough of these cuteee brownie pine cones.
They are super easy to make, you basically make my delicious fudgy brownies, once they cool mush them into pine cone shapes, fill with caramel and stick chocolate cereal around the outside. Scroll down to get the full recipe…
How do I make these brownie pine cones?
- Melt the dark chocolate and butter in the microwave, 20 secs at a time. Set aside to cool.
- Mix the eggs, sugar & vanilla extract with an electric beater/stand mixer until creamy, fold in the cooled chocolate butter mix with a spatula.
- Sieve the flour and cocoa together, add to the wet ingredients, fold in with spatula.
- Bake at 170c fan for 25 mins.
- Once the brownies have cooled remove the crust off the top of the brownies.
- Break up the brownies and add to a bowl. Roll the brownies into 6 pine cone shapes.
- Place them in the fridge for 30 mins.
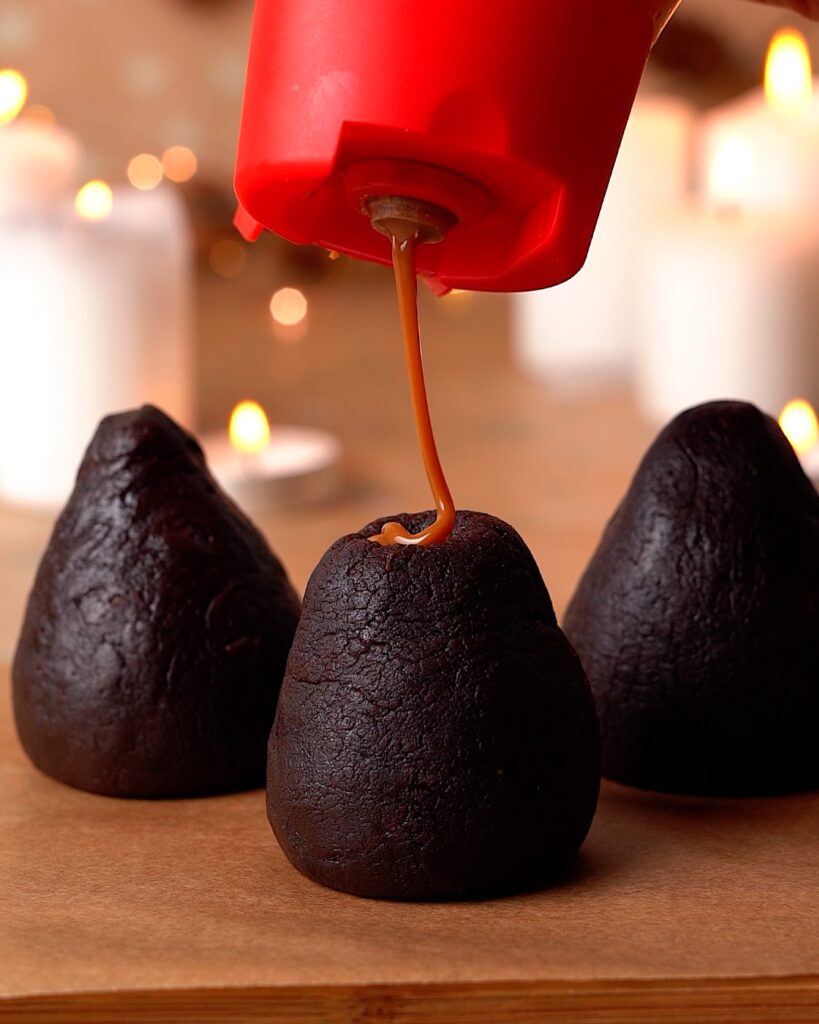
- Cut a hole in the top and pour in caramel sauce. Place the piece of brownie you cut out back on top to seal the caramel inside.
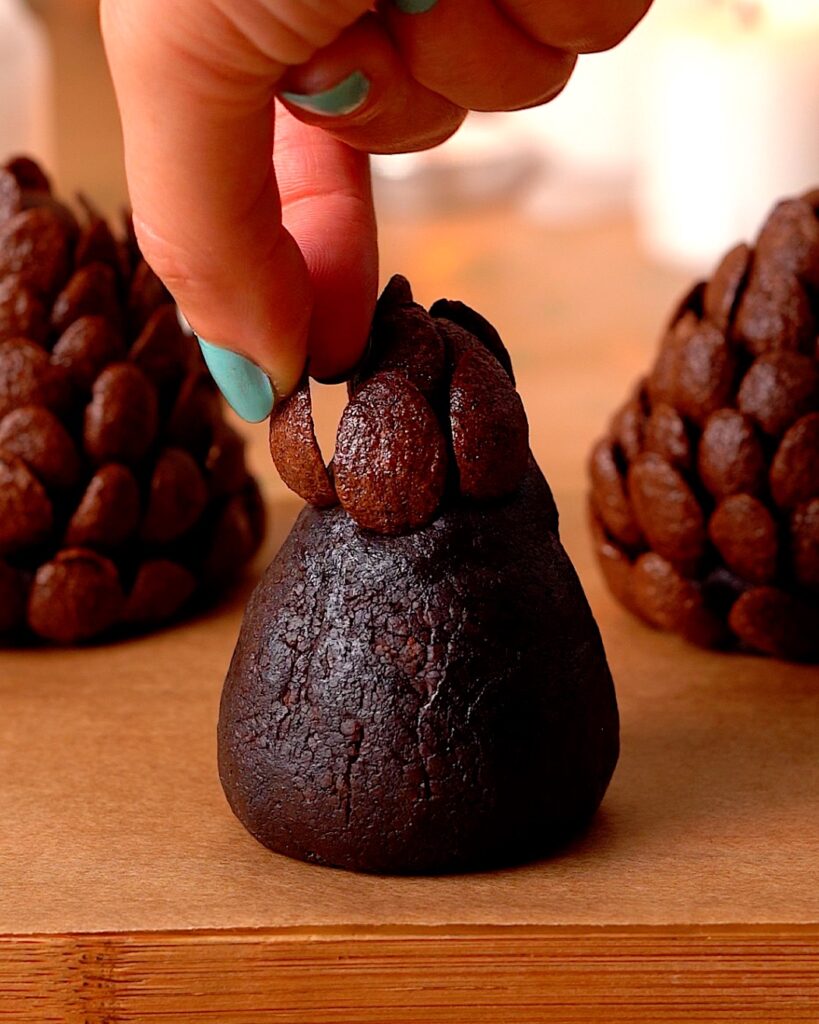
- Starting from the top, push the cereal into the brownies all the way around, then continue on the row below until you reach the bottom.
Tips for making brownies pine cones?
They ate pretty easy to make, but here are some tips to help you make the perfect festive brownies pine cones.
- Once you have moulded the brownies into pine cone shapes, place them in the fridge for 30mins. This will help them hold their shape before you put the caramel inside.
- do not fill the brownies with too much caramel otherwise it will spill out of the brownie pine cone.
- Make sure you have some time allocated to sticking the cereal into the brownies, it can be a bit time consuming.
When should I make these brownie pine cones?
- You could make them as a cute Christmas present for your friends or family. You could out one in a small gift box, imagine getting one of these brownie pine cones as a present.
- Any time during the holiday season, they are a great way to celebrate the start of Winter.
- On Christmas Eve or Christmas Day as a wintery dessert.
If you like this recipe, check out these ones…
Ingredients
Brownies
- 170g butter
- 200g dark chocolate
- 160g plain flour
- 50g cocoa powder
- 3 eggs
- 200g caster sugar
- 60g light brown sugar
- 1tbsp vanilla extract
- 1/2 tsp salt
Filling
- 6tbsp caramel sauce
Cereal Pine cone
- Coco pops chocos
Instructions
- Melt the dark chocolate and butter in the microwave, 20 secs at a time. Set aside to cool for min 5 mins.
- Mix the eggs, sugar & vanilla extract with an electric beater/stand mixer until creamy, fold in the slightly cooled chocolate butter mix with a spatula.
- Sieve the flour and cocoa together, add to the wet ingredients, fold in with spatula.
- Bake at 170c fan for 25 mins.
- Once the brownies have cooled remove the crust off the top of the brownies.
- Break up the brownies and add to a bowl. Roll the brownies into 6 pine cone shapes.
- Place them in the fridge for 30 mins.
- Cut a hole in the top then pour in the caramel sauce. Place the piece of brownie you cut out back on top to seal the caramel inside.
- Starting from the top, push the cereal into the brownies all the way around, then continue on the row below until you reach the bottom.


3 comments
Hi! Is it possible to freeze these?
How far in advance can you make these and how are they best kept ?
Can they be frozen ?